Showing posts with label Art. Show all posts

Friday, February 18, 2011

Painting With Water

Here is Claire hard at work painting with her Buddha board -- a consistent favorite since Christmas. I’ve enjoyed HOURS of quiet while Claire kept herself amused painting with water. And speaking of fun toys, I was recently contacted by CSN Stores to review an item on their site here! I’m sure you’ve seen them before – they have over 200 online stores and carry everything from modern office furniture to cute cookware to children’s toys.

    DSC_0834

I still haven’t picked out what I’ll review with my gift card, so check them out and give me some ideas! I’m of course leaning towards something from the arts and crafts section. There’s lots and lots to choose from.

DSC_0831

We’re off to enjoy the warm weather now and instead of painting with water we’ll be splashing and sculpting with the mud. Mmmm…brown nature paint. Heehee!

Friday, February 11, 2011

Art Project Roundup

DSC_0865

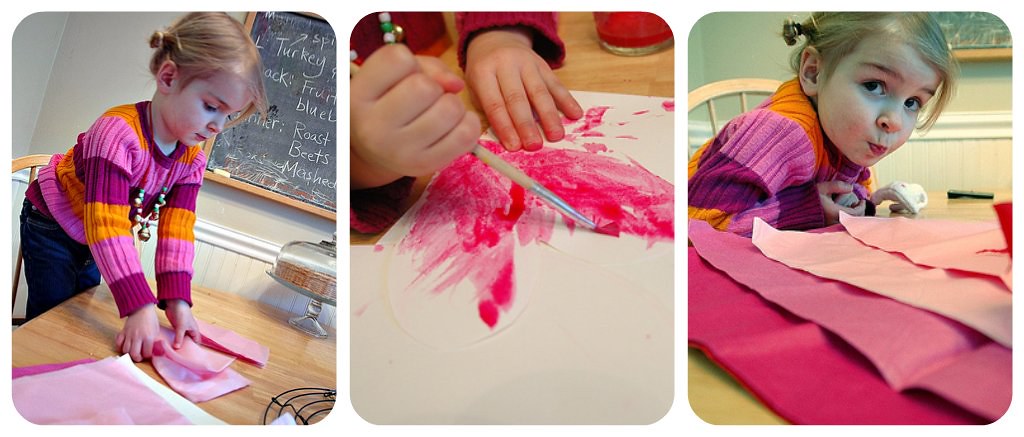
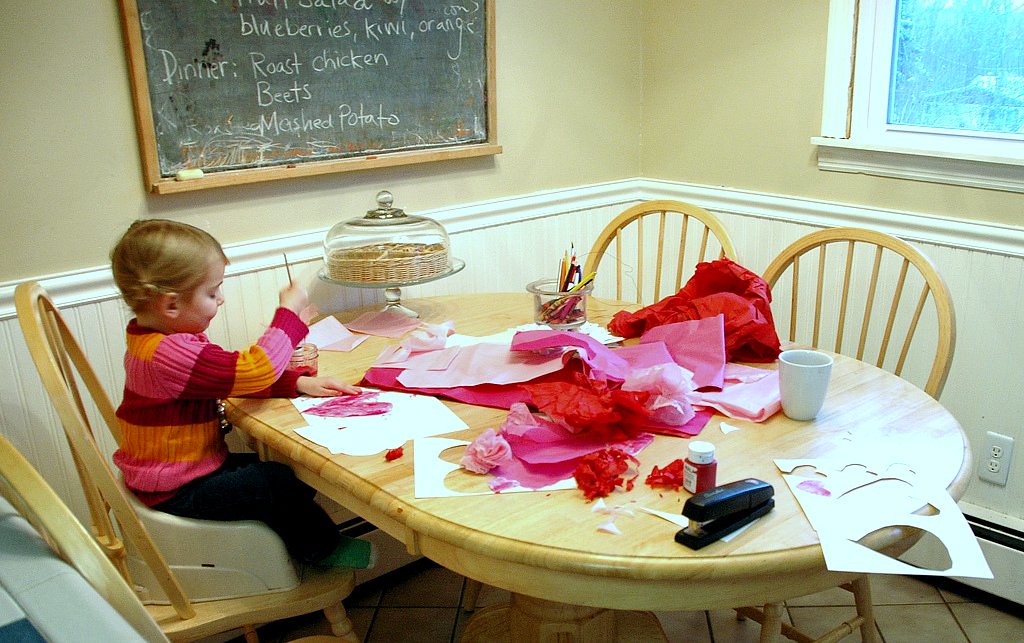
We've been in full swing over here crafting up pretty pink things for Valentine's Day. The full scoop and "how to" is over at Chalk In My Pocket, but I thought everyone would love to see a few photos of Claire and the end results of some of our projects.

Spray Paint Valentines
DSC_0800   DSC_0811-1


DIY Block Stamps
DSC_0845DSC_0855


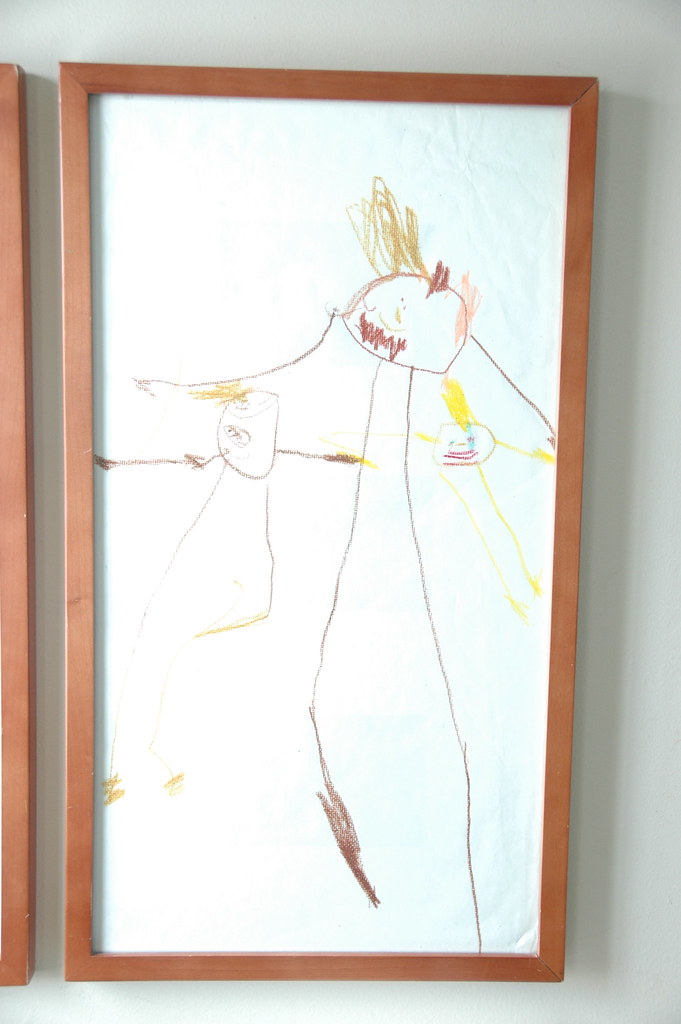
Our little portrait artist is still creating lots large bodied stick folk. We made up these gift tags for Linda and Sandy for their belated Christmas gifts. The alphabet stampers have gotten so much use - thanks GrandBob and GranC!


This whole other blog took off a lot faster than I expected so I've need the help of my trusty assistant. I think I might photograph things too much - every time Claire draws something she takes off to fetch her camera.


Sunday, January 23, 2011

Through Her Eyes

                              
I wrote shortly after Christmas about Claire’s excitement after receiving a digital camera for Christmas from her Aunt Nikki and Uncle Matt. I finally got around to taking a look at what she’s been photographing and I laughed out loud at many of the images and marveled over the beauty of the “everyday” she captured. I’d like to think I was looking through her eyes at things that are important to her: family, friends, animals, her special toys and favorite places in our home…

Claire Camera Pics1

Friday, January 21, 2011

A Family Portrait


Claire has been drawing these fantastic people for a couple of weeks and I just had to share this family portrait. I especially love her mohawk hairstyles and the carefully chosen hair colors. Can you tell that we are all wearing shoes? I (on the left there) am even wearing my glasses! I'll have to post more of these, they are just cracking me up!

Monday, January 17, 2011

Front Door Valentine's Wreath (and why you should consider using our back door)

I do believe that everyone needs a glittery, poofy pink wreath on their front door.

This is probably proof that I've been sniffing too much polyurethane while finishing our staircase.

Three stairs down and at eleven to go...I'm sure there will be lots of crafty goodness to share in the coming weeks as this home improvement project wraps up (or as I get tired of sanding). I've got to keep this kid occupied so while I'm slaving away, Claire's been whipping up some Valentine's Day decorations.


Saturday, January 1, 2011

Future Photographer?


Aunt Nikki and Uncle Matt gifted Claire a digital camera for her birthday and she couldn't love it more! We've been teaching her some photography techniques, first - get low and try to shoot at your subject's eye level. The tummy wriggle is especially effective when trying to creep next to the grandparent's elusive kitties.


Review your images, but keep in mind the LCD screen does have its limitations, look for composition rather than exposure. I'm still learning that lesson myself.


Claire demonstrates with cousin Aidan the tenants of excellent child photography: get low, shoot lots, no flash and let the baby see themselves on the screen.


I might have to give Claire her own little corner of this blog pretty soon. The camera holds 1000 images and many are worth sharing. It's interesting to look through the photos and see the world according to Claire. There are shots of me cooking, the colored threads in the braided rug she loves to look at, a stack of crayons, the polar bears she photographed (on my Ipad) after watching "Go Diego, Go!" and lots of other interesting objects from her perspective.

Claire's corner has a nice ring to it, perhaps I'll make it a section to share her artwork and the "notes" she's been busy writing.

Tuesday, November 2, 2010

Autumn Splendor (Part Deux)

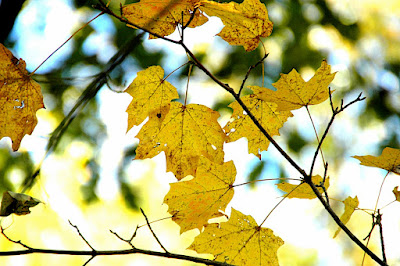
I know, two foliage posts in a row. I just can't help it though, haven't the leaves been beautiful this year? Walking with Claire in the yard always turns up a few gorgeous specimens to work with. I picked up a few $0.99 frames while at Ikea recently. I thought I would put some letters in them or label things on our nature table (more to come on that another day) but Claire thought a small maple leaf might look nice in there too. I love that we can see both sides of the leaf.

What do you think?


Monday, November 1, 2010

Chalkboard and Autumn Admiration

Since we spend a lot of time here:


Looking up at this:


and this:


of course, it was only a matter of time before there was a tree in our house decked out in colored leaves of its own:


This chalkboard hangs in our kitchen and sometimes I'll write out our dinner menu or a fancy birthday greeting but most often we're using it for school. Claire loves to draw on it while standing on a kitchen chair and most recently we created this cool tree using coffee filters and watercolors. Forget the brush on the coffee filters, eye droppers are the way to go! The wrong sized coffee filters gathering dust in your cabinets are best to use, I'm not that smart though.

Claire really wanted to tape up this interesting branch with berries she found in the woods so we added that too. I'll have to bring out the colored chalk and we'll add some brown and grey to the trunk. I do think Claire's "burls" are a nice touch.


Sunday, October 31, 2010

Spider Hand Prints for Halloween

Halloween Greetings to all! We created some spooky artwork last week gearing up to celebrate Halloween. This was definitely an art project that focused on the art process - it took three days, but was well worth the wait. Any project that helps a three year old work on patience gets a thumbs up in my book.

Day 1 - Claire drew a web in white crayon. The idea was to get some lines on the page, this is Claire's work so I wasn't preoccupied with the perfect web shape. Claire filled the entire page with purple liquid watercolors and any puddling was quickly absorbed by the paper and wound up looking mottled - very cool indeed. We kept a wet rag handy to catch any spills, these paints are sure potent!

On day two we moved onto the spider hand prints. I painted Claire's fingers and most of her palm (her giggles were hilarious) and helped her press each hand onto the web we painted the day before.

I suppose at this point you could have glued the googley eyes on while the paint was still wet, but I wanted to stretch this out as long as possible. We hung the eyeless critters up to dry and called it quits.

On day three we talked a lot about spiders and their eight legs (and eyes!). I poured some glue into a spoon for her to use and gave her a paint brush to apply it. This seems to be one of the neatest ways for Claire to use glue. We put eight eyes on one of the spiders but it just didn't look right. Maybe if we had a few different sizes we would have been more successful. We stuck with the cartoony spider version and just used two. Of course I forgot to snap photos of the eyes actually glued on...but there are a few photos in the slideshow of our glue-spoon contraption. Have a spooky-fun Halloween!
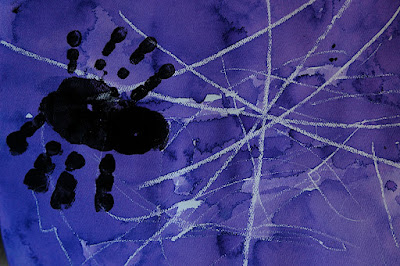


For those Mac folks without the capability of playing flash - here's the link to the album: Spider Hand Prints there are a few more of cutie-pie Claire and her artwork there.

Wednesday, October 27, 2010

DIY Wrapping Paper

Good friends of ours are expecting their first baby and I made a diaper cake filled with goodies for their shower. In the past I have wrapped diaper cakes in cellophane or brought them "naked" if they were serving as decoration. This time I enlisted Claire's help.


While this looks like an extremely messy project, I assure you it wasn't. In fact until we arrived at the shower and the dry paint began chipping off the plastic tablecloth, there was no mess to speak of (unless you count Claire herself who washed up just fine in the tub). Large scale painting is definitely in our future, but I think we'll be sticking to fabric.

From Diaper Cake


Sunday, October 3, 2010

Autumn Artwork

DSC_0915

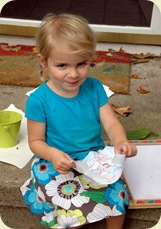
The air is crisp and colorful leaves are dotting the trees – it appears DSC_0911autumn has arrived! Last week Claire and I grabbed some crayons in fall hues, gathered a few leaves from the front yard and sat down to make some rubbings. As I expected, Claire found this project magical! The veins and edges appearing as she rubbed different colors thrilled her and the end result was really beautiful.

We had quite a few species on hand to try out in our front yard – rhododendron, maple, hosta and the teeny-tiny leaves of the impatiens in the planter. We tried some coleus leaves but they DSC_0905were too “juicy” and Claire’s enthusiastic rubbing turned them to mush before they left much of an impression on the paper.

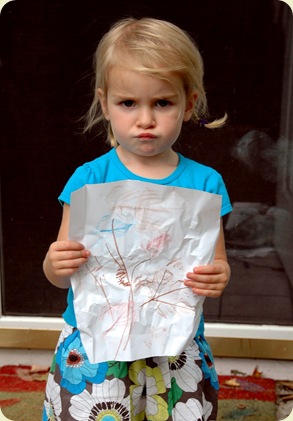
I found using crayons (unwrapped of course) split in half were easiest for Claire to handle. It took a while for her to get the hang of holding the crayon horizontally and pushing it to get a rubbing. The result was a frustrated soon-to-be three year old who was bummed out about less then perfect attempt. I love her pouty face, but I’m glad it turned into a smile when she finally figured things out!
DSC_0912

We worked with regular computer paper, but I hope to try again soon with the rhododendron leaves on watercolor paper. With the sturdy veins and stiff leaves, hopefully they’d show right through and allow us to create some watercolor resist artwork.

Our final product? Hanging proudly on the fridge (and displayed here) until I can frame it. Enjoy!

DSC_0919

Monday, August 23, 2010

Strawberry Jam

DSC_0313Earlier in the summer we made 3 separate trips to our local strawberry farm. The weather was so pleasant and a few mornings spent picking yielded some stellar berries and homemade jam.
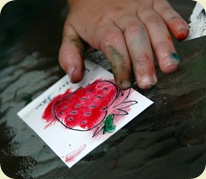
Claire carried her own basket and was a great picker! She refused to eat any insisting they were all for her basket, what a change from last year!

We wound up with enough jam to pass along some to our neighbors and friends and I thought it would be nice for Claire to help with the labels. We used Pomona’s DSC_0318Universal Pectin which allowed us to make a low sugar version of freezer jam. It requires one extra step (making calcium water) but I think the results are far better then the super-sweet versions with pectin that require sugar to jell them.

Next year I’m going to get more adventurous and try some savory jellies and maybe even some real canning so we don’t lose valuable DSC_0320freezer space to these jars.

The freezer jam keeps in the freezer for one year and the fridge for 2 weeks.I wonder if it will all last that long, we’ve been enjoying ours on bread and scooped into some yogurt and cottage cheese. Yum!

DSC_0316

Saturday, August 21, 2010

Textile Art with Toddlers (aka PUFFY PAINT!)

DSC_0505

Remember puffy paint from the 80s? If it doesn’t conjure up visions of Debbie Gibson and girls shaking their bedazzled rhinestone tushies DSC_0521you must have been born on another planet.

Claire is into squiggly drawing right now so I thought this would be a hit. Turns out I was wrong and she used the bottles in an entirely different way.

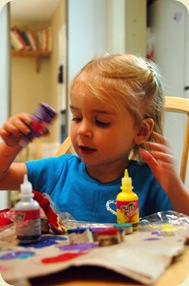
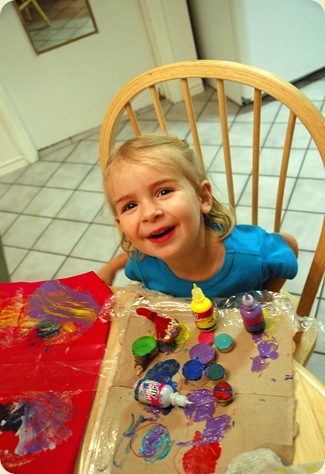
She made tall puffy paint piles. In every (rockin’ 80s teal, purple and gold) color. As this was going to be a gift, I decided that we would try another option because these swirly creations would never dry. I ran around the kitchen looking for something that would work as a spreader (note to self, better prepare the art environment so you’re not scrambling mid-project with a very messy situation unfolding). I finally came up with a few pipe-cleaners and twisted them together to make an impromptu paintbrush.

DSC_0481

DSC_0503DSC_0513 DSC_0498

I also grabbed some birch trimmings from a jar and used them as stamps. The bag came out really cute, and very colorful to say the least. I attempted some iron on letters (sparkly ones to please Claire) but they were a disaster so we went with a rhinestone butterfly instead. I’ll have to bully Bella’s Mom for a photo since i forgot to take one of the finished bag :)

DSC_0526 

Some things I learned from this experience:

  • Puffy paint is messy and sticks to skin just as well as fabric (I still have a purple smudge on my arm!)
  • Drying time always takes longer then the Puffy Paint folks tell you.
  • Remove puffy paint from your child BEFORE putting them in the bathtub or your tub will be as messy as your child.

 DSC_0529

LinkWithin

Blog Widget by LinkWithin